 Apr 01,2024
 BOMI SHANGHAI
 916
916
How to make a proportional clay model of a special vehicle
In the process of design and manufacture of special vehicles, the production of equal clay model is a key step. Clay models can not only accurately reproduce the design plan, but also transform the design into the data model required for actual production through 3D measurement and reverse engineering. In the form of teaching, this article will explain in detail how to make an equal ratio clay model of a special vehicle.
1.1 Selection of materials
The materials used to make clay models usually include steel frames, strips of wood, and foamed foam. The steel frame serves as the skeleton of the model, while wood strips and foamed foam are used to fill and support the structure. This combination can not only withstand the weight of the clay, but also adjust the size of the skeleton as needed,
1.2 Making the Skeleton
First, the frame is welded with Angle iron to form the basic structure of the model. Next, the boards are nailed to the steel frame, and the foam foam is fixed in the part that needs to be filled. The lightweight nature of the foamed foam helps to reduce the overall weight of the model while providing enough support to ensure that the clay adheres firmly to the model.
Step two: Coating the clay
2.1 Coarse coating of clay
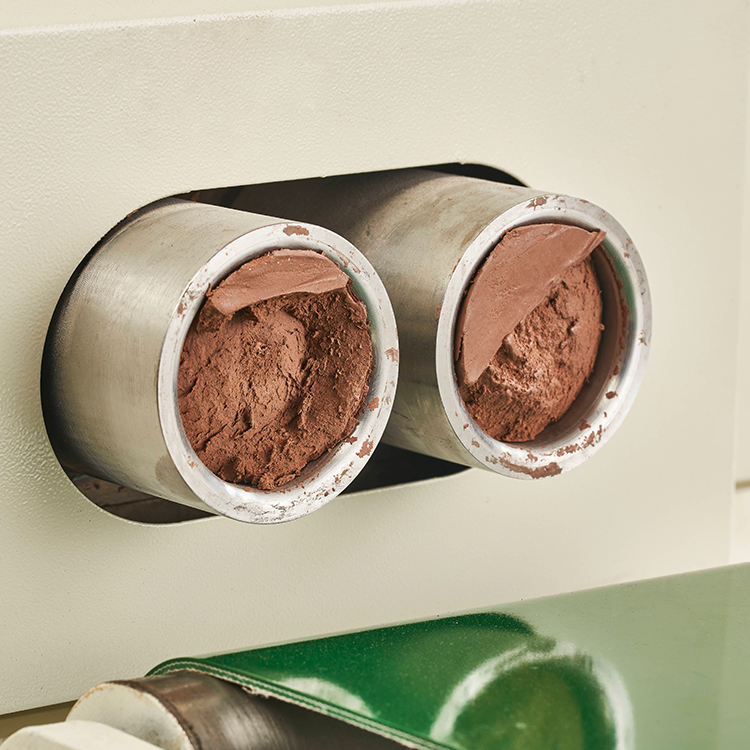
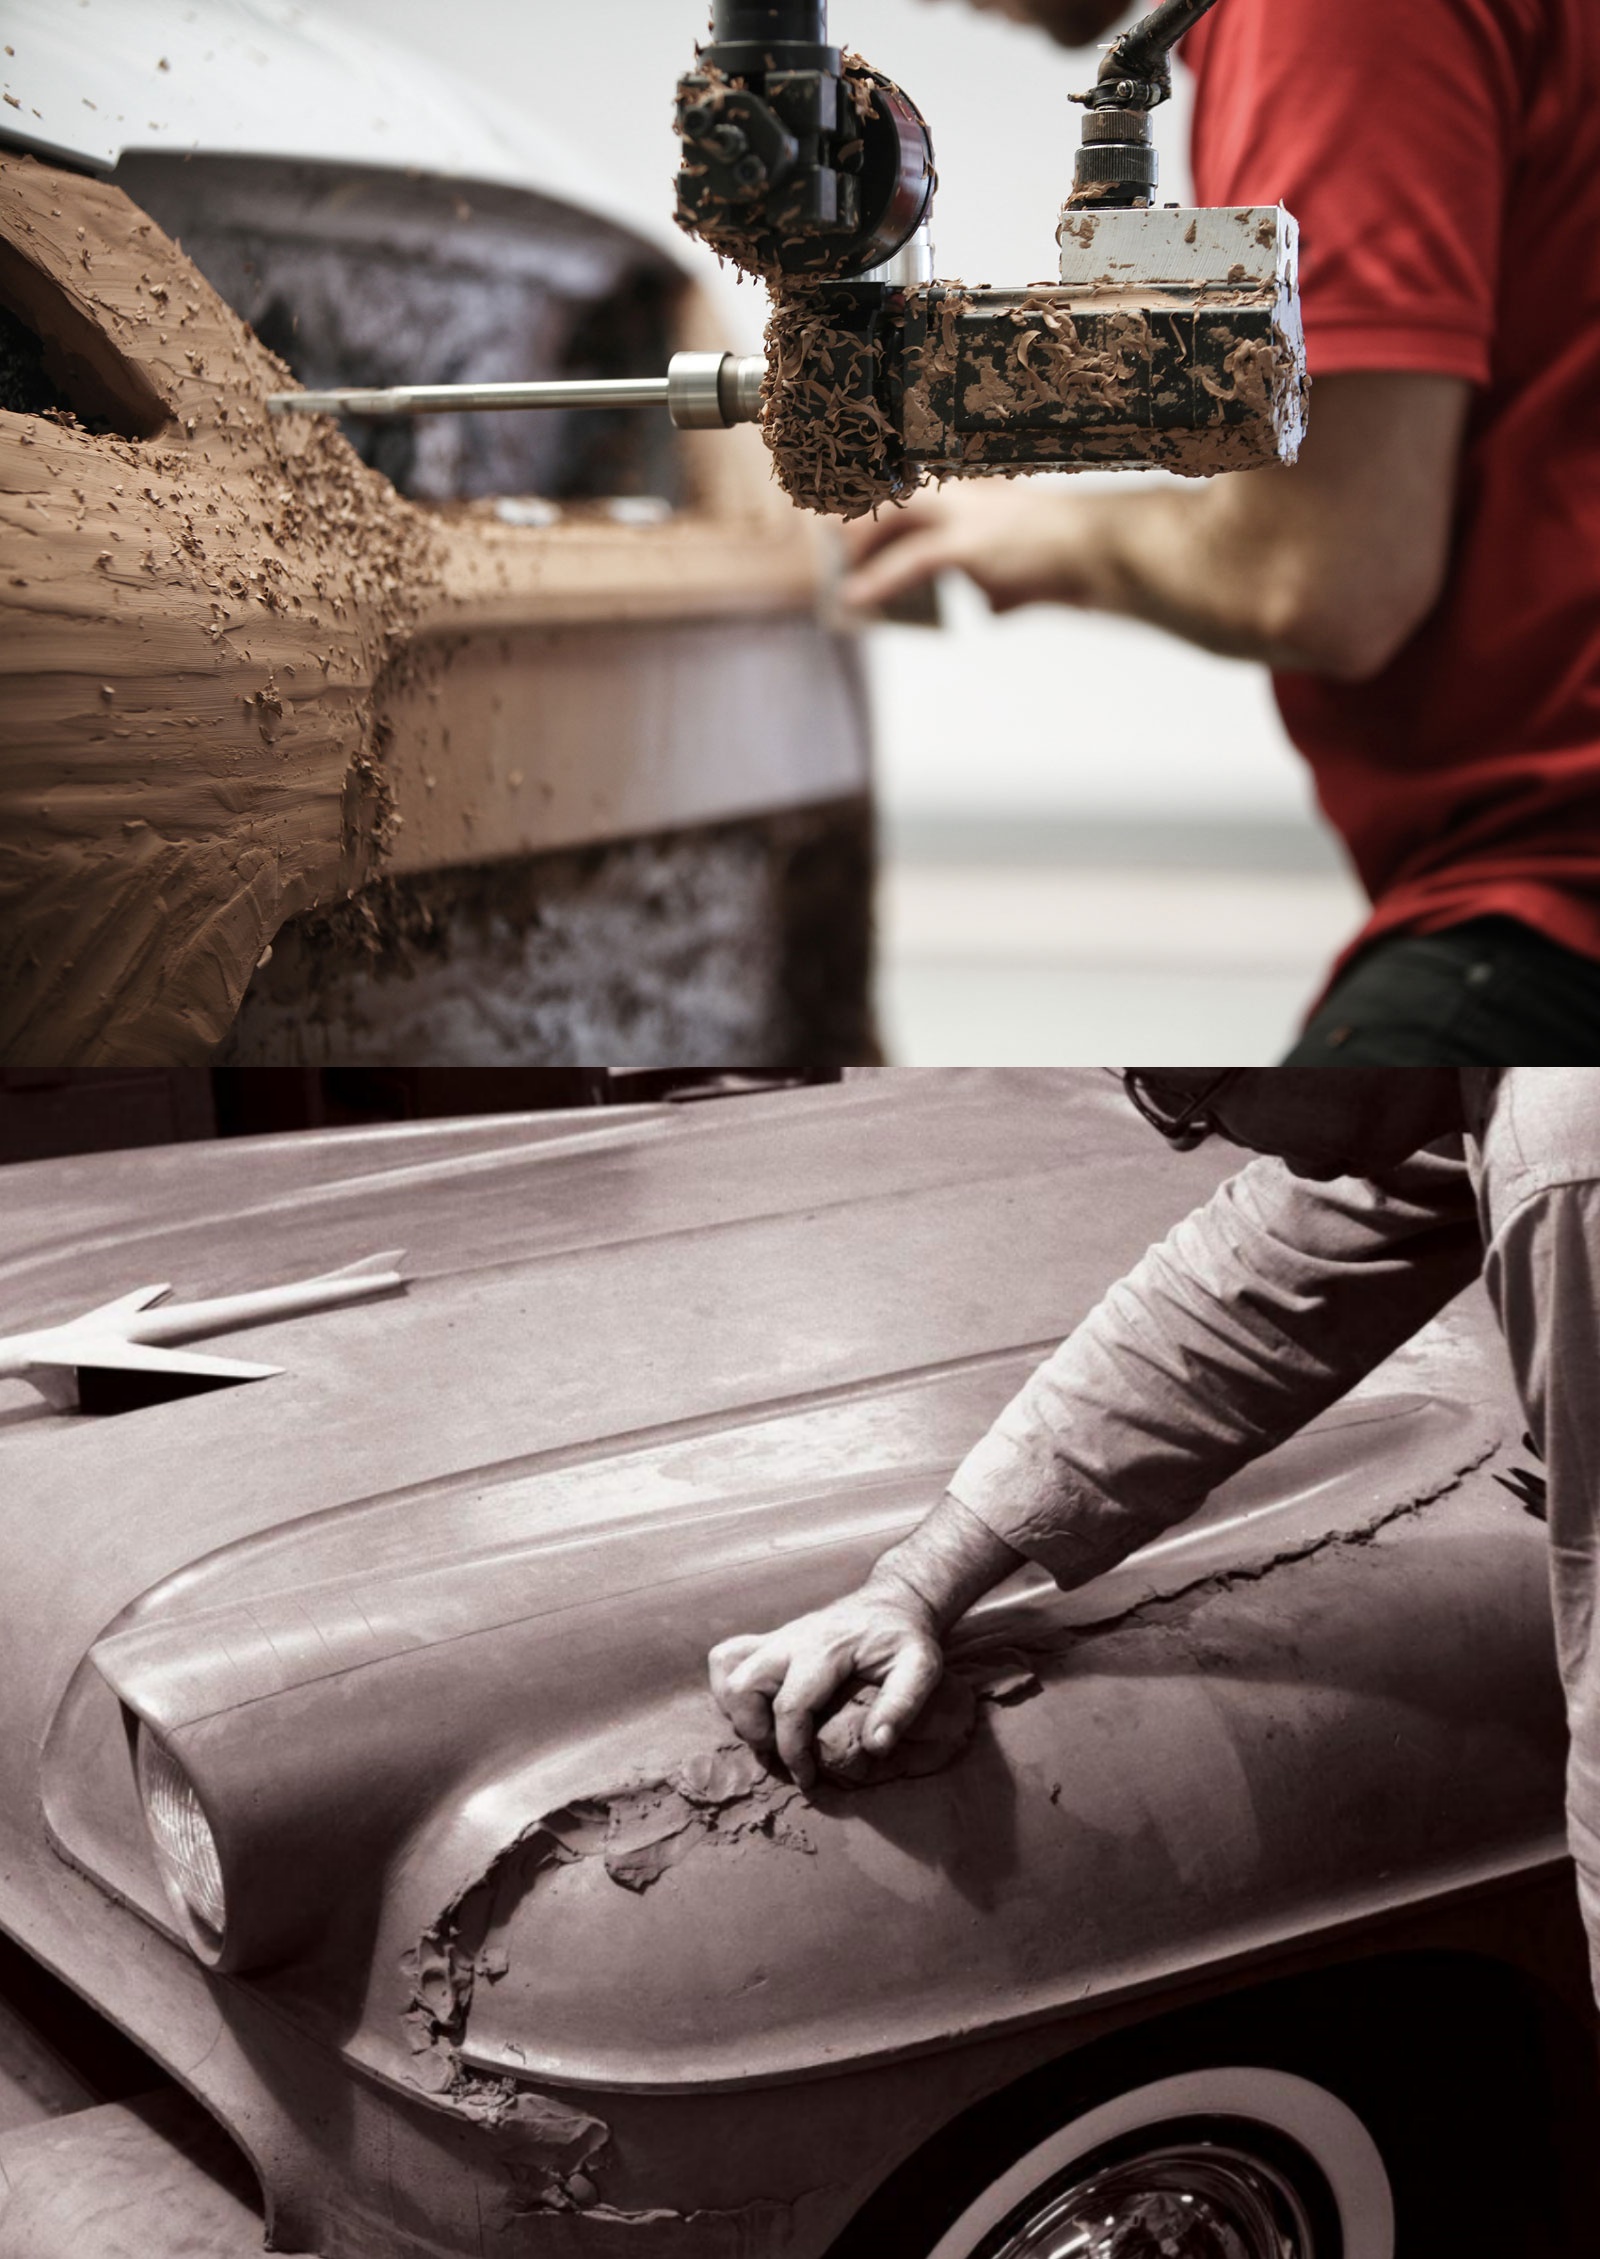
After the skeleton and filling materials are ready, the coarse coating of the clay begins. Clay can be applied directly on the small area of the board, and on the larger surface, iron nails should be nailed into the board and wound with nylon rope to prevent clay from falling off during processing. Typically, the clay thickness of the isometric model is 40 to 50 mm.
2.2 Medium and fine coating of clay
After the coarse coating is completed, the work of intermediate and fine coating of clay is carried out. In the middle coating stage, the surface of the model is gradually approached to the design size by further coating clay. In the finishing stage, the clay needs to be repeatedly trimmed with fine tools to achieve the requirements of the final design.
Step 3: Scraping and fairing test of the model
3.1 Rough and medium scraping
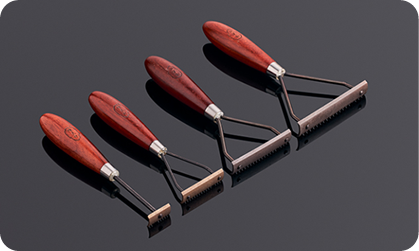
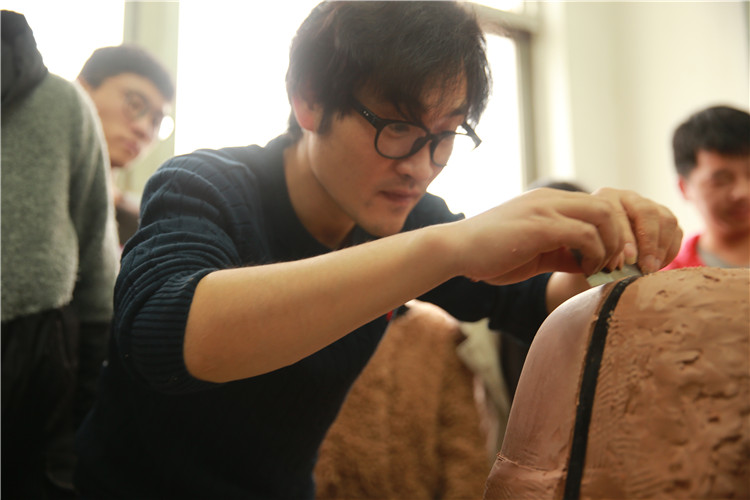
In this step, the model is raked in multiple directions using a large size rake knife. By gradually scraping the clay on the surface of the model, its basic shape is consistent with the design drawing. In the process of scraping, the large surface of the model is first completed, and the local details are temporarily ignored to ensure that the overall shape of the model meets the design requirements.
The model is faired by using laser and grid diagram. Under the irradiation of the fluorescent lamp, the curvature of each part of the model is checked and the uneven area is corrected in time. For 1:1 solid models, it is recommended to observe the contrast at a distance of at least 3 meters from the model to ensure that the overall curve of the model is smooth and accurate.
After the fairing test is completed, the model is fine scraped. The details of the model are corrected repeatedly according to the section lines on the grid diagram. It is important to note that since the final reverse scan will only take one side of the model, complete symmetry is not required when hand-crafted. In this way, different design schemes can be retained at both ends of the model for easy comparison and selection.
conclusion
The production of proportional clay models for special vehicles is a complex and delicate work that needs to be carried out in strict accordance with the steps. From the selection of materials to the scraping of the model, to the final reverse engineering and finishing, every step is crucial. Through this method, not only can improve the design accuracy, but also can effectively shorten the development cycle and save costs. Hopefully, this guide will provide you with useful guidance every step of the way in clay modeling.

